
Launch a VM
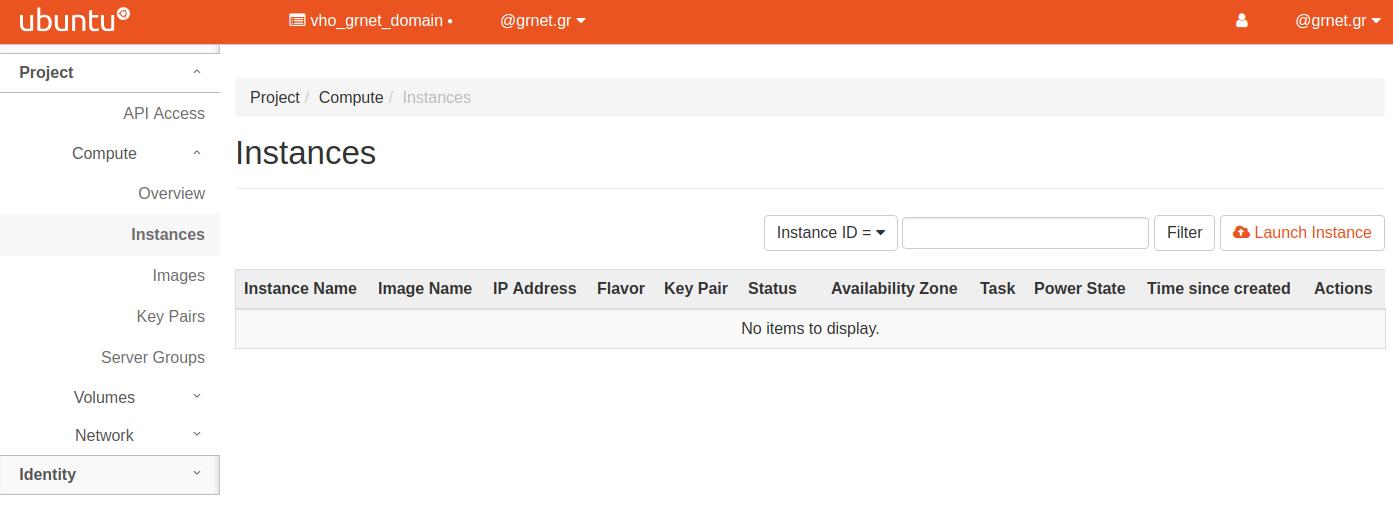
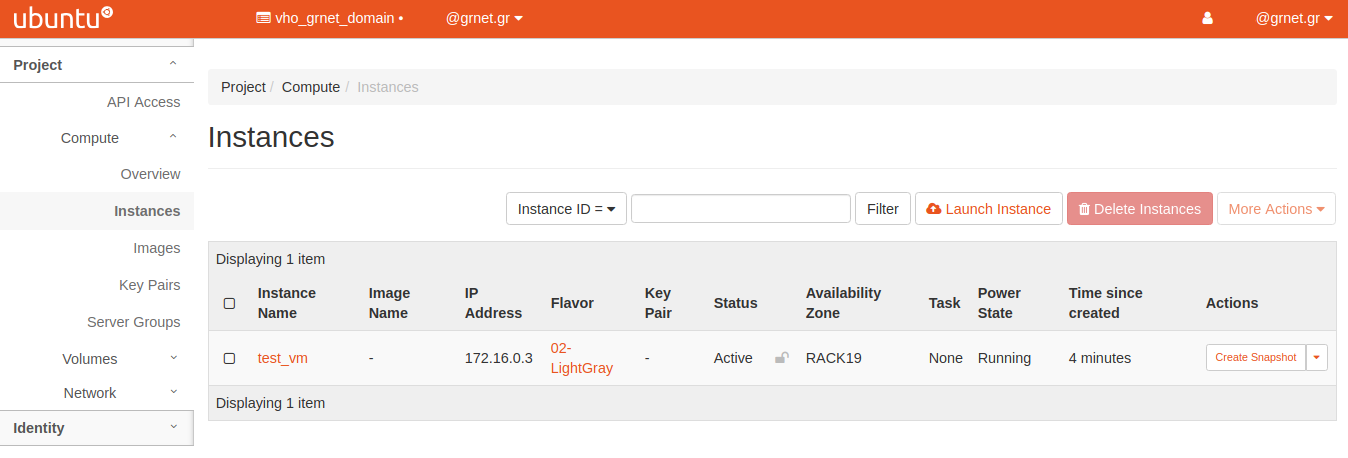
Go to “Project” - > “Compute” -> “Instances” tab and press the “Launch Instance” button on the right.
A modal widow will appear:
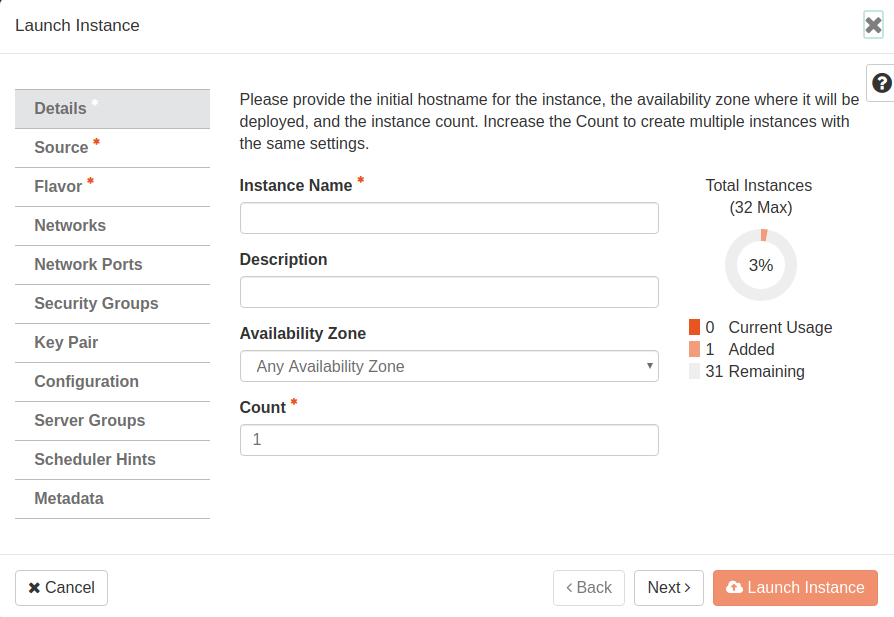
Enter an “Instance Name” and press “Next >” button.
Select Instance Source
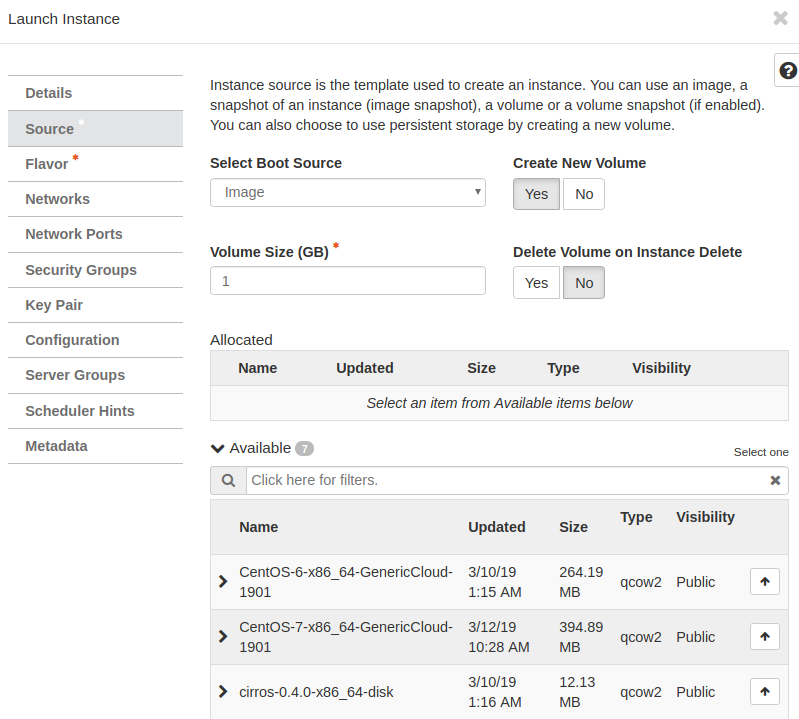
In the “Source” tab make sure that in the “Select Boot Source” the option “Image” is set and then select the image of your choice from the list on the bottom by pressing the up facing arrow icon ![]() . No need to worry about “Volume Size (GB)” field in this step. Just press “Next >”
. No need to worry about “Volume Size (GB)” field in this step. Just press “Next >”
Select Instance Resources
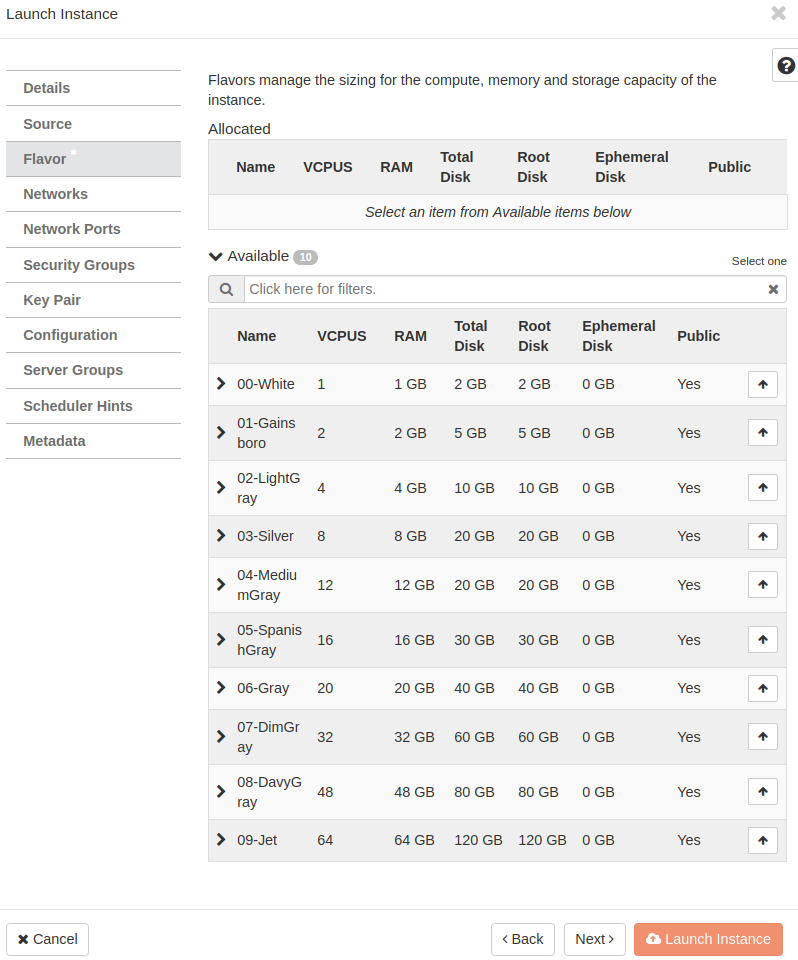
In the “Flavor” tab choose the resources to be allocated to the VM from one of the predefined options pressing the ![]() icon.
icon.
Set User Password
(this step can be skipped if you have already setup a public SSH key)
Go to the “Configuration” tab:

#cloud-config
chpasswd:
  list: |
    ubuntu:mypasswd
ssh_pwauth: True
Replace “mypasswd” with the password you want the default user to have (in this example we have chosen the Ubuntu 18 image so the default user name is “ubuntu”).
After that we can press the button “Launch Instance” (all other tabs can be left with the default configuration). !!! If you set a password this way make sure you have no “key pair” selected (in the “Key Pair” tab) even if you haven’t selected it on your own (it may be set automatically), otherwise the web console might not work !!!
After a few seconds the VM will be up and running.
Access VM via web console
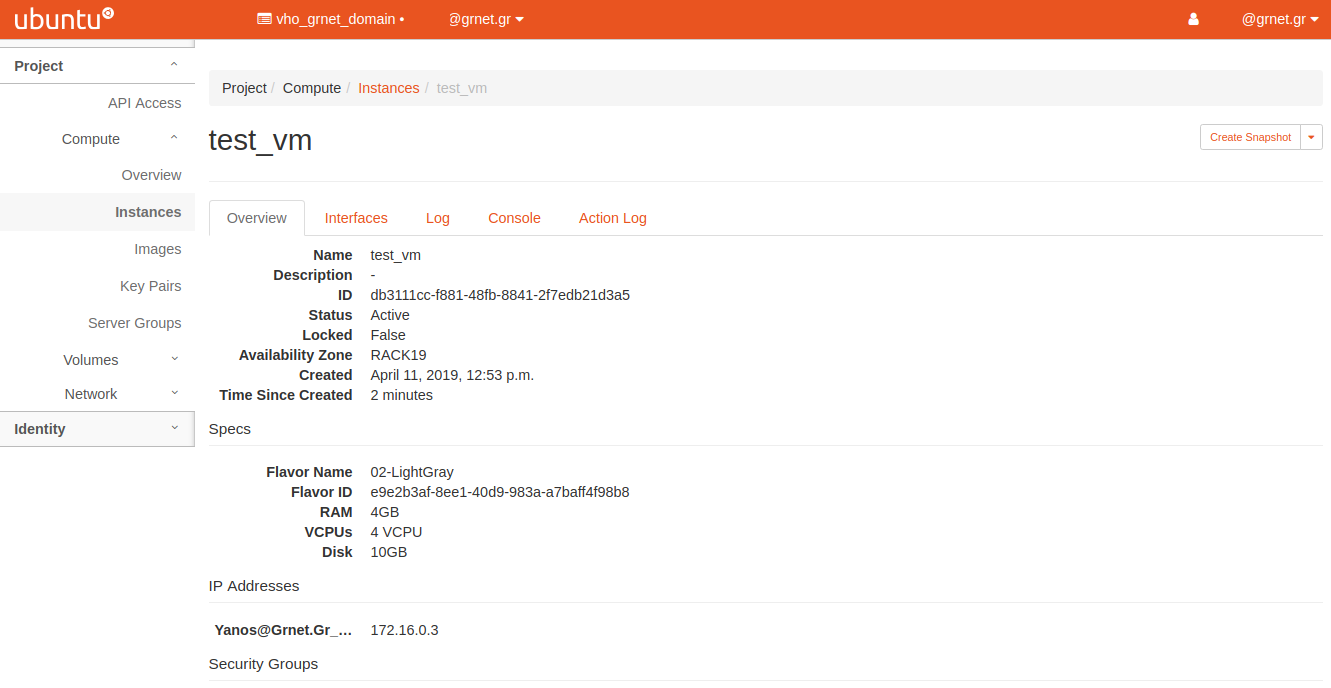
Now to access the VM we can select the VM’s name (“test_vm” in our case) and we will be directed to the instance’s page.
By going to the “Console” tab:
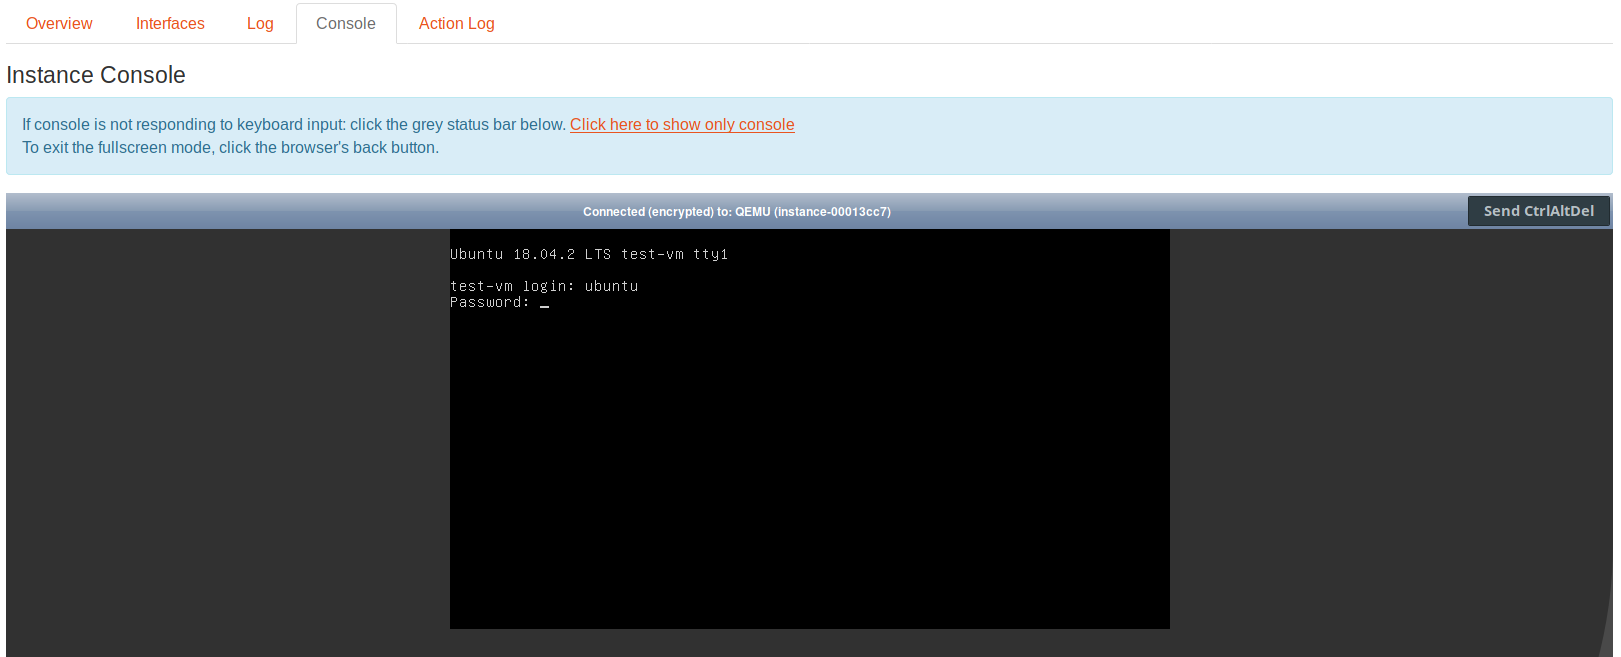
Click on the “Click here to show only console” link and now you can login using the default username for the chosen cloud image (default username by distro) and the password you have set in the “Configuration” tab.
Access VM remotely
To access the VM remotely we need to give it a floating IP (what is a floating IP) and allow access to the desired ports.
Assign a Floating IP to the VM
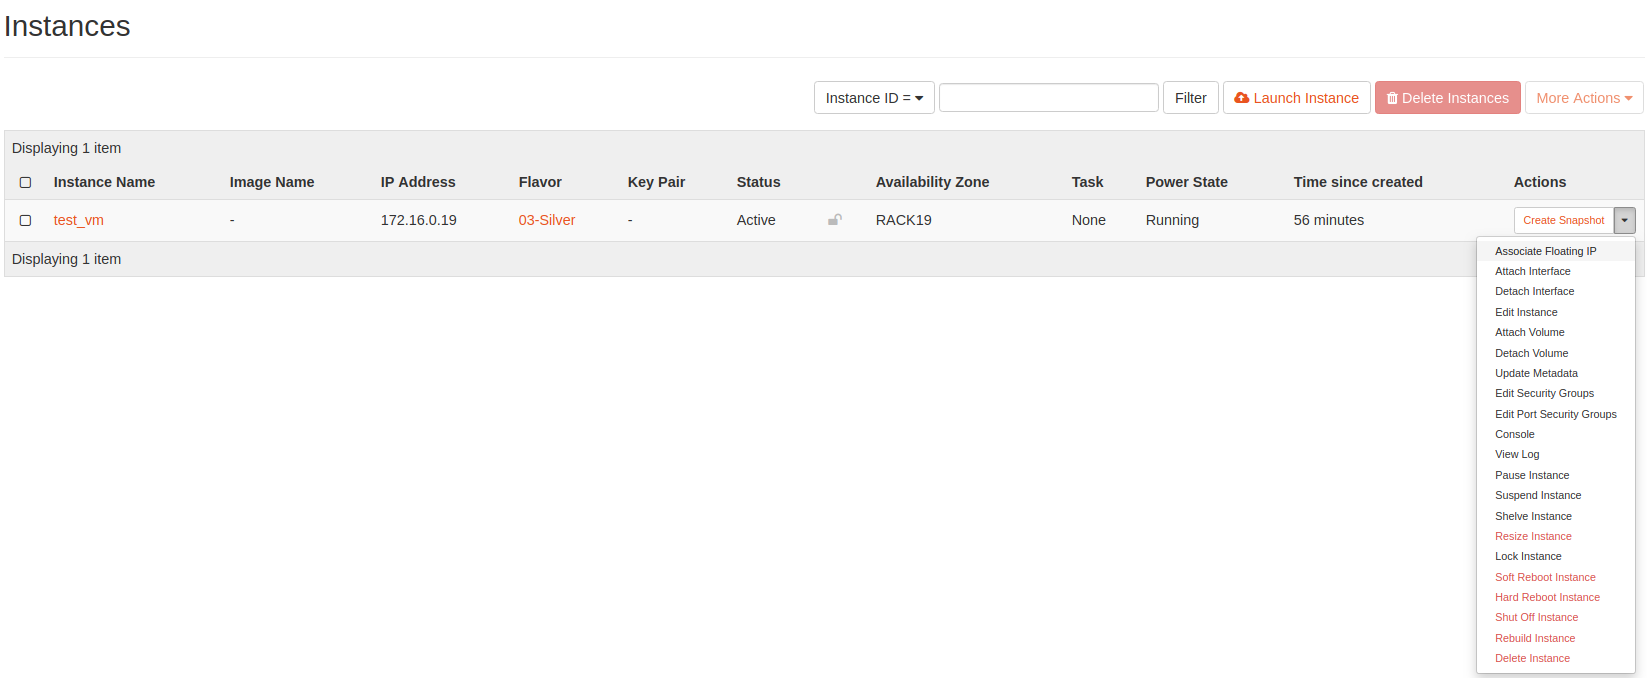
To give the VM a floating IP go to “Instances” page and on the VM’s row press the arrow at the far right and from the menu click “Associate Floating IP”
A modal window will pop up:
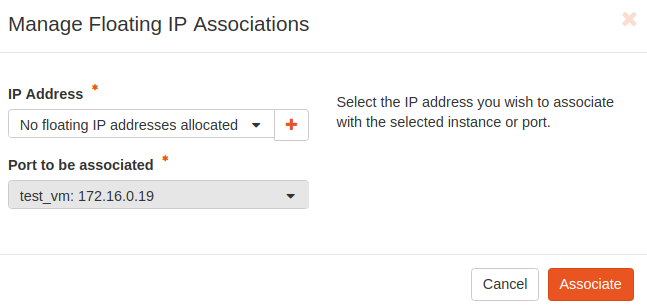
, if no floating IPs are available click on the cross symbol ![]()
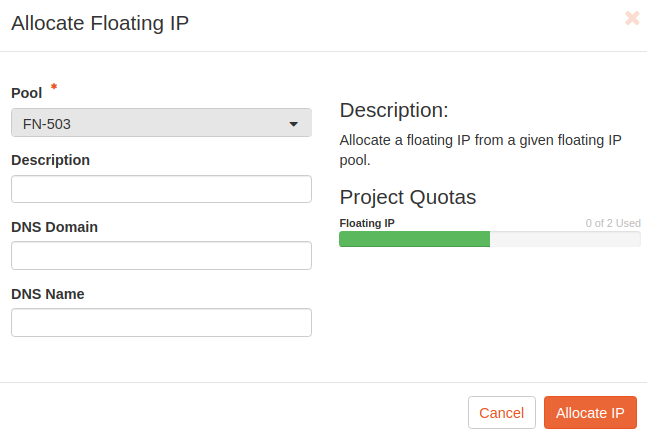
In the field “Pool” select “FN-503” which corresponds to the external network (details on external network FN-503) and click “Allocate IP”:
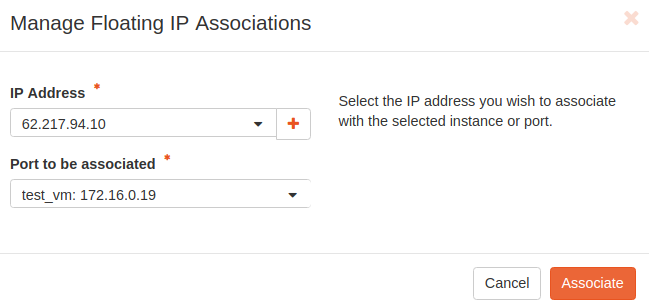
Now we can associate the IP so click “Associate”:
Allow Access to SSH Port
Finally, we need to allow port 22 access in the security group, so go to “Project” -> “Network” -> “Security Groups”:
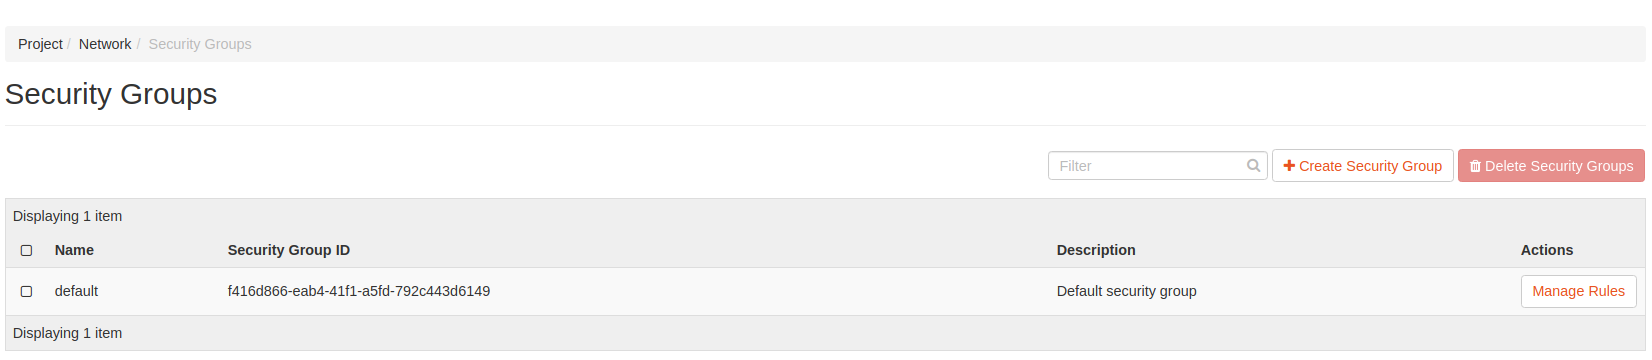
Click on the “Manage Rules” button:
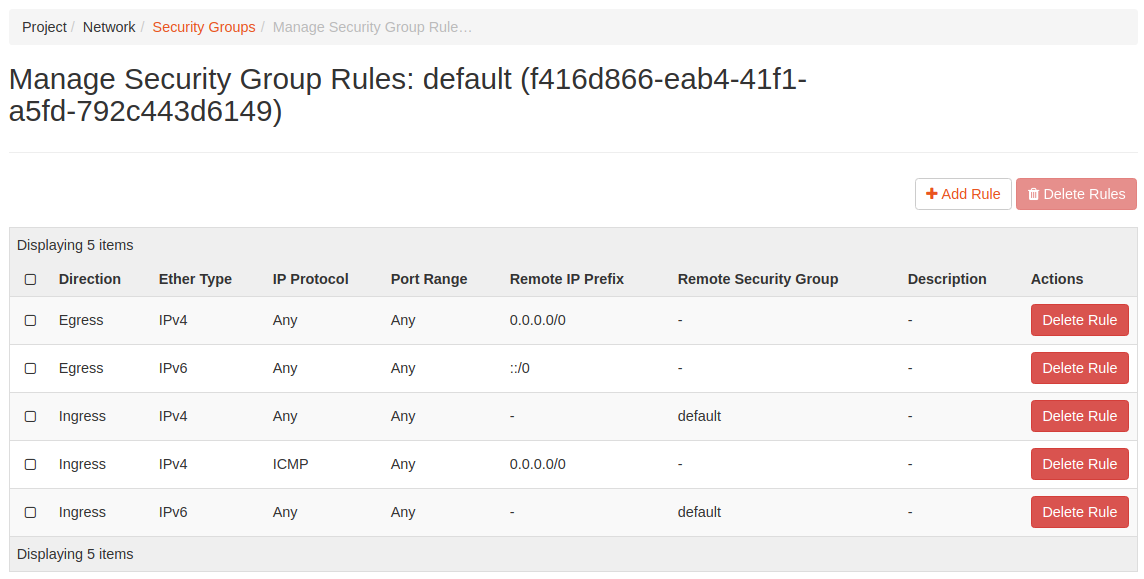
then “+ Add Rule”:

in the “Rule” field choose “SSH” and then click “Add” on the bottom right.
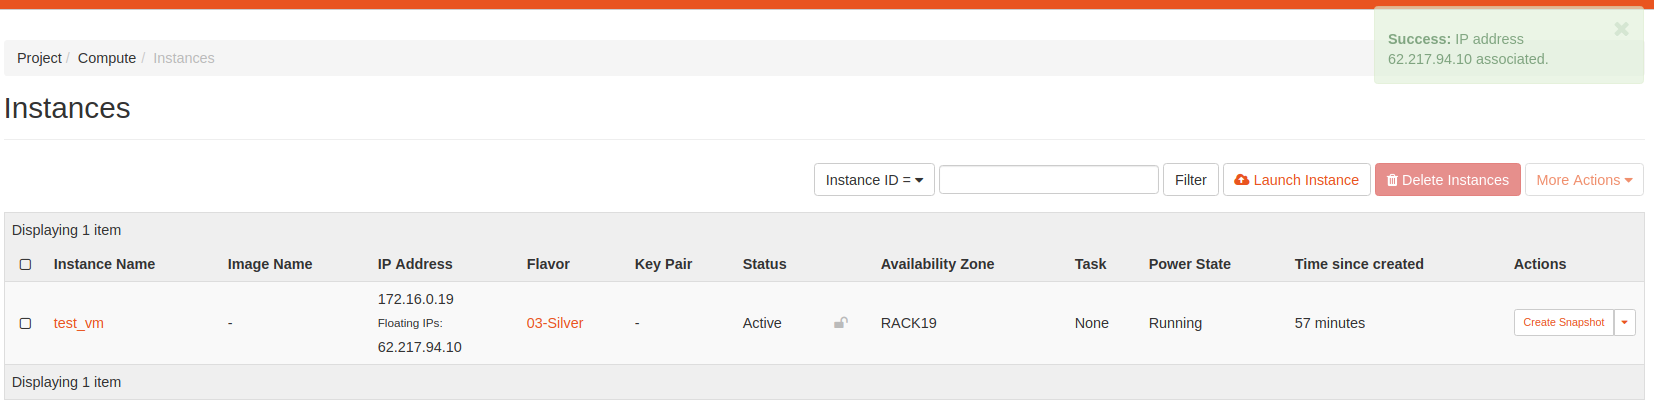
After the rule is set you can access your VM remotely by using the floating IP.
Connect to your VM remotely
In our example from your own PC run:
ssh ubuntu@62.217.94.10