This guide will provide a step by step procedure to deploy a private, scalable Jupyter Hub for your users.
Prerequisites Verification
-
Login to your project at https://ui.cloud.grnet.gr/
-
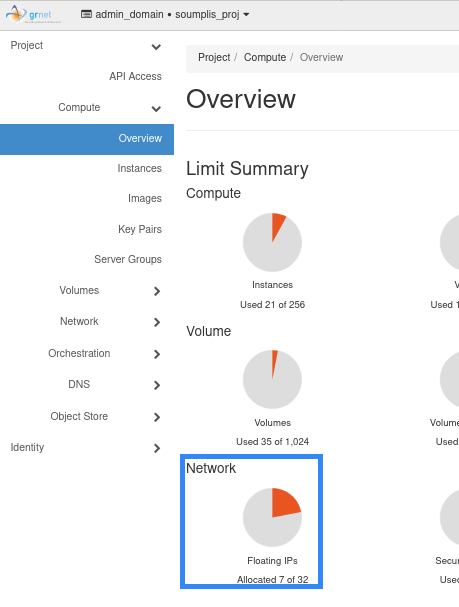
On the first screen after your login, ensure that you have at least one “Floating IP” available to your project.
-
On the dashboard expand on the left panel the option “DNS” and click on “Zones”.
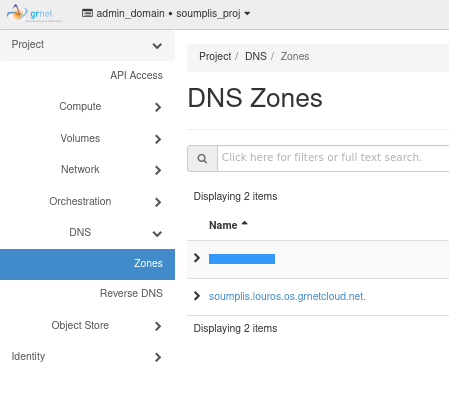
-
You will see your DNS zones and at least a zone with the name USERNAME.louros.os.grnetcloud.net . This is the zone that you can use for you public facing Jupyter Hub deployment.
Install Jupyter Hub
-
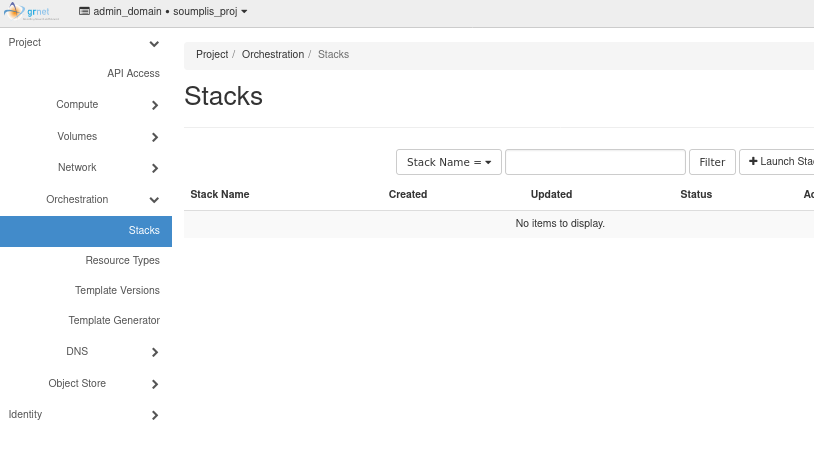
Expand on the left panel the option “Orchestration” and click on “Stacks”.
-
Click the button “Launch Stack” on the top right corner of the Stack panel and you will have a window pop up to create your Stack.
-
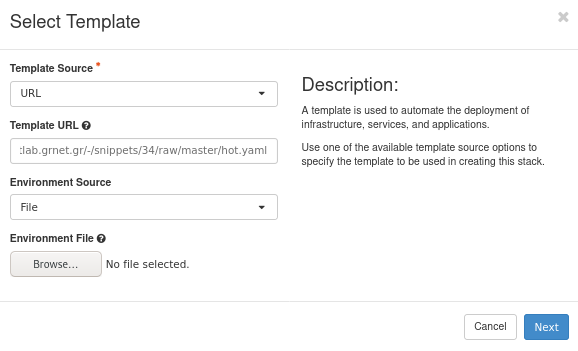
On the pop up window, choose “URL” for the “Template Source” and put the https://gitlab.grnet.gr/-/snippets/37/raw/main/hot.yaml in the “Template URL” textbox and click on the button "Next"
-
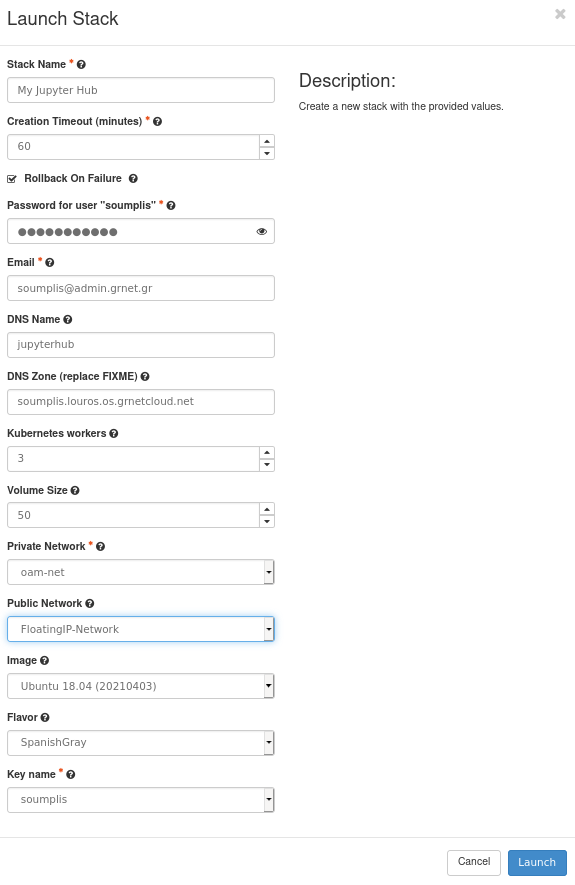
The next screen allows you to customize many parameters for you deployment. You can click on the “?” next to each parameter for more details on the parameter usage. DO NOT FORGET to change the DNS zone option and replace FIXME with the you OpenStack username to correspond to the DNS zone you have check on the verification steps above. Click "Launch"
-
Next step is to sit back and relax… Your stack is deployed in the background and will require some time (15-20 minutes with 3 workers)
-
When it is ready, you will see a screen like the following stating “Create Complete” on the “Status” column.
-
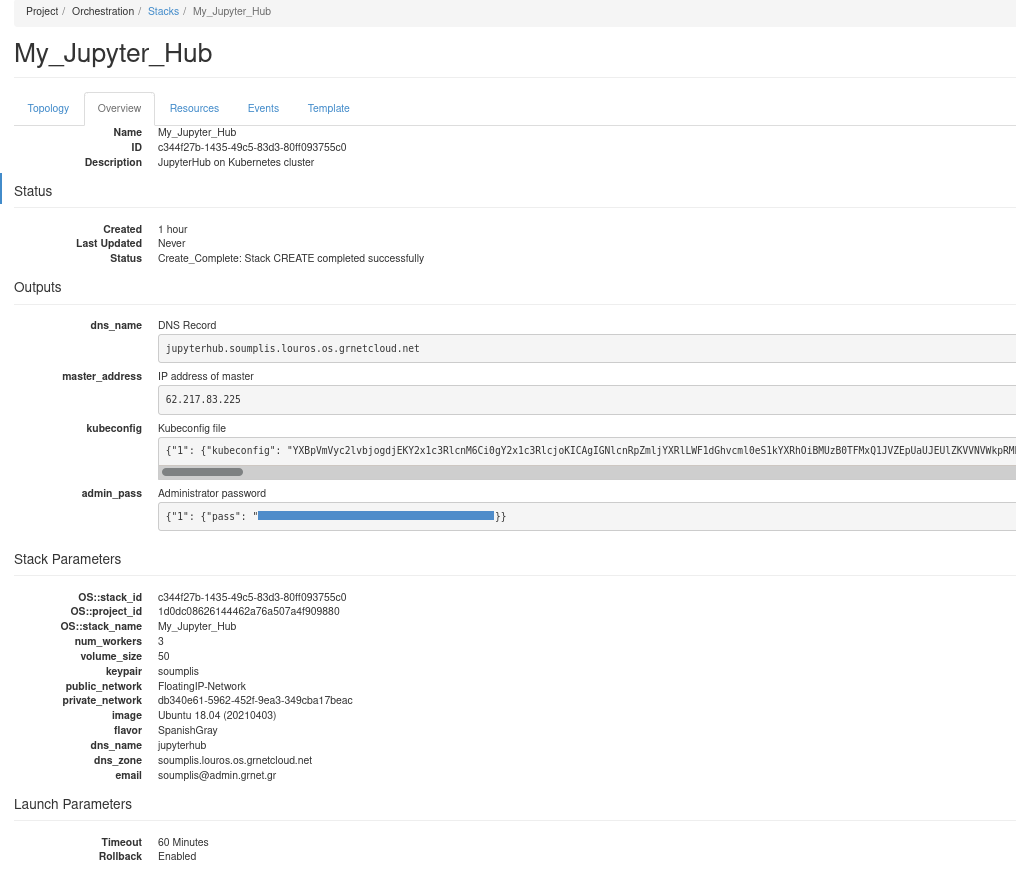
When it is complete, click on your stack name and on the next screen click on the “Overview” tab. In this screen you can see the IP address and the hostname for your new Jupyter Hub and also the admin pass to login as an administrator. You can also get the kubeconfig file in base64 encoding in case you need to interact directly with the Kubernetes cluster behind the scenes.

Jupyter Hub First Steps
-
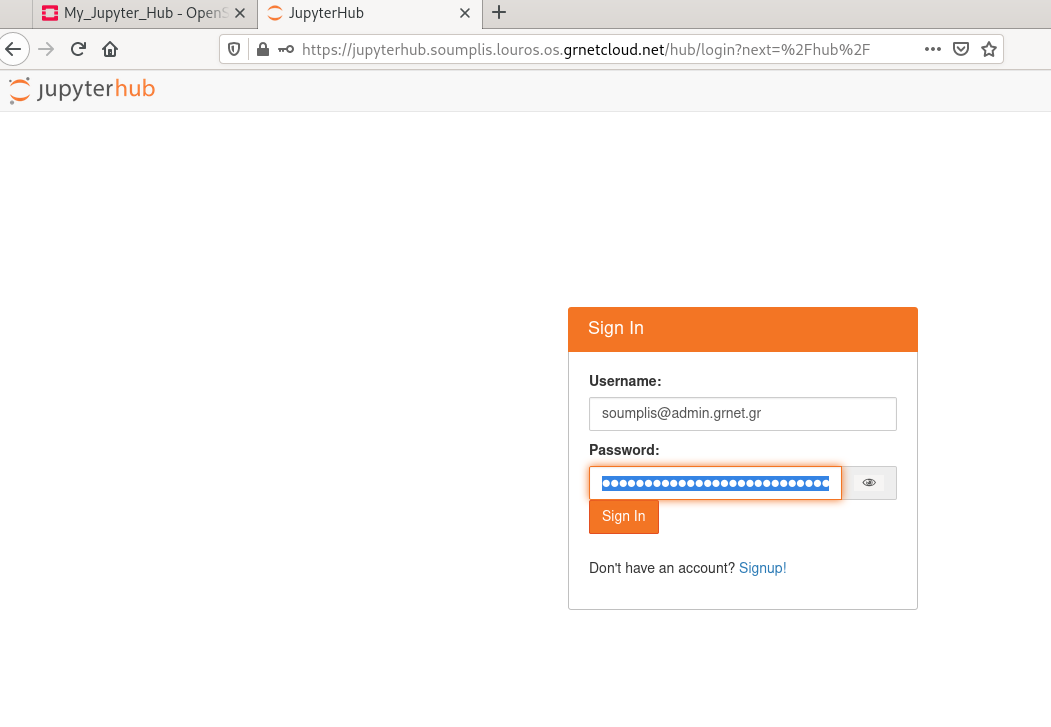
Open a browser window to your jupyter hub hostname (ex. jupyterhub.soumplis.louros.os.grnetcloud.net ). You will automatically be redirected to a secure environment protected with SSL (ex. https://jupyterhub.soumplis.louros.os.grnetcloud.net)
-
Put in your credentials, the username you specified during the initial deployment and the password you have in the overview tab after the deployment.
-
After logging in you are an admin user and you have a "Control Panel " button in the top right corner. Pressing the button you get into the control section where among other you have an “Admin” tab. From within this tab you can manage your users
-
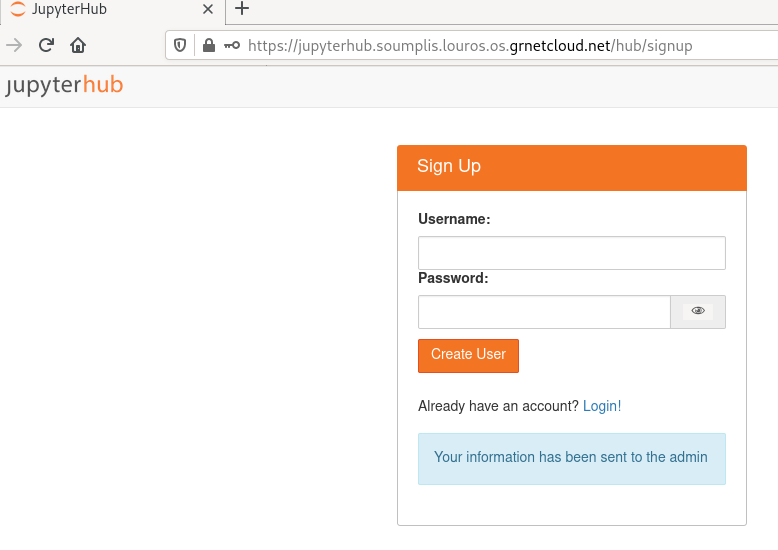
You can also allow your users to self-sign up to the platform. From the login screen, they press the button “Sign Up” and define a username and password. After clicking the button “Create User” the user will see a note the the admin has been notified to allow access.
-
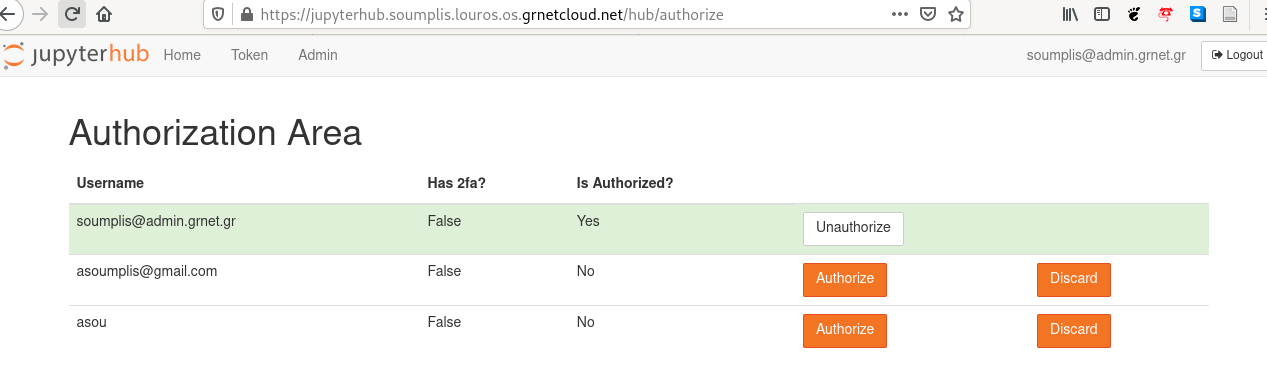
The administrator can go then to the control panel and authorize users. Due to a Jupyter Hub bug there is no button for the authorize page, but instead you have to type directly the url to be like /hub/authorize (ex. https://jupyterhub.soumplis.louros.os.grnetcloud.net/hub/authorize ).