
Launching a virtual machine
Provided you have followed the instructions “Preparation before installing VMs” you have an environment prepared for successful VM launch. Make sure all previous steps have completed successfully.
Log in to OpenStack Dashboard as project’s user and navigate to Compute → Instances. Click on “Launch Instance”, located In the top right corner:
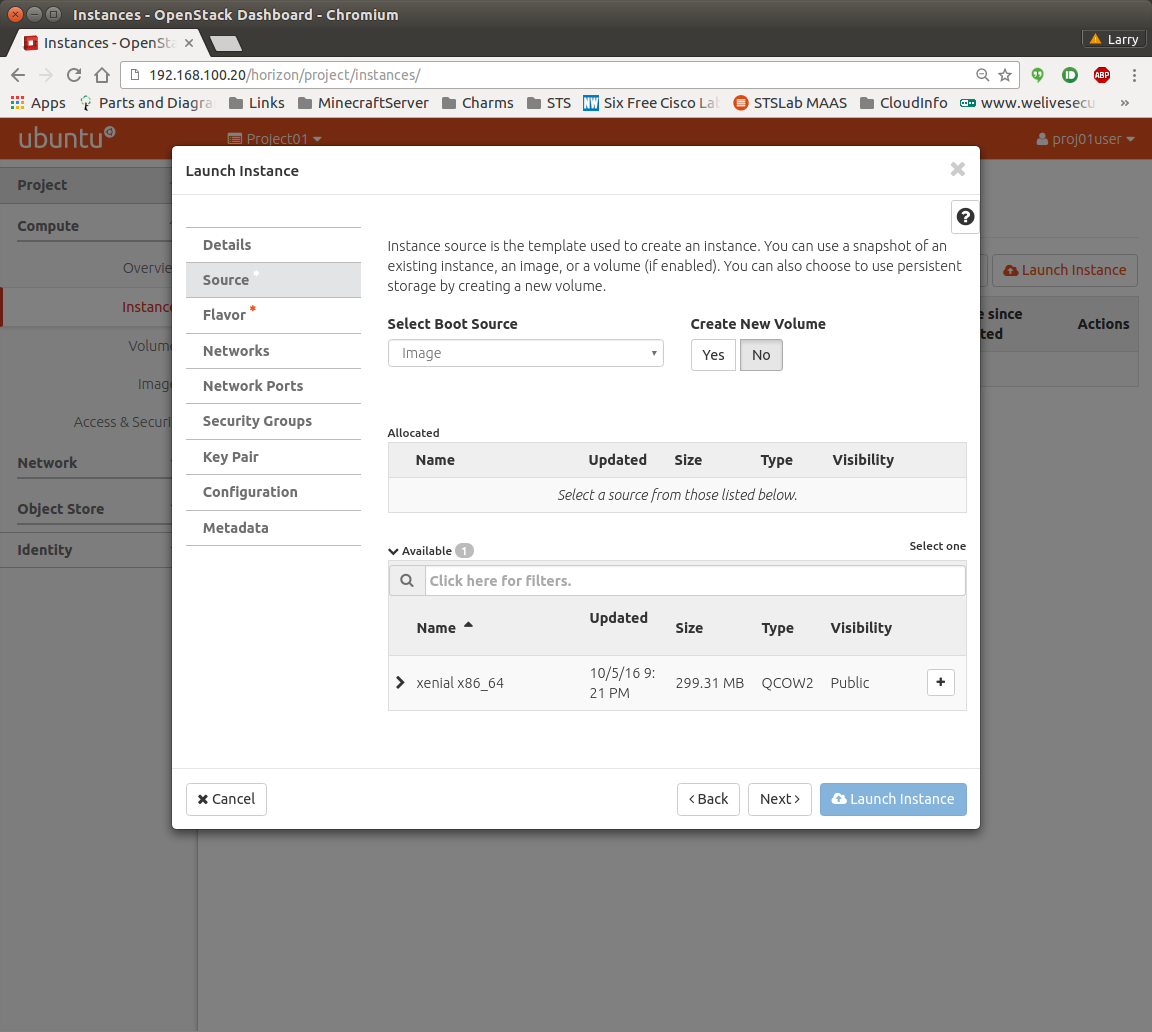
In the source tab, select the previously uploaded image, and press the “No” Button on Create a new Volume. Click Next. Otherwise, a volume
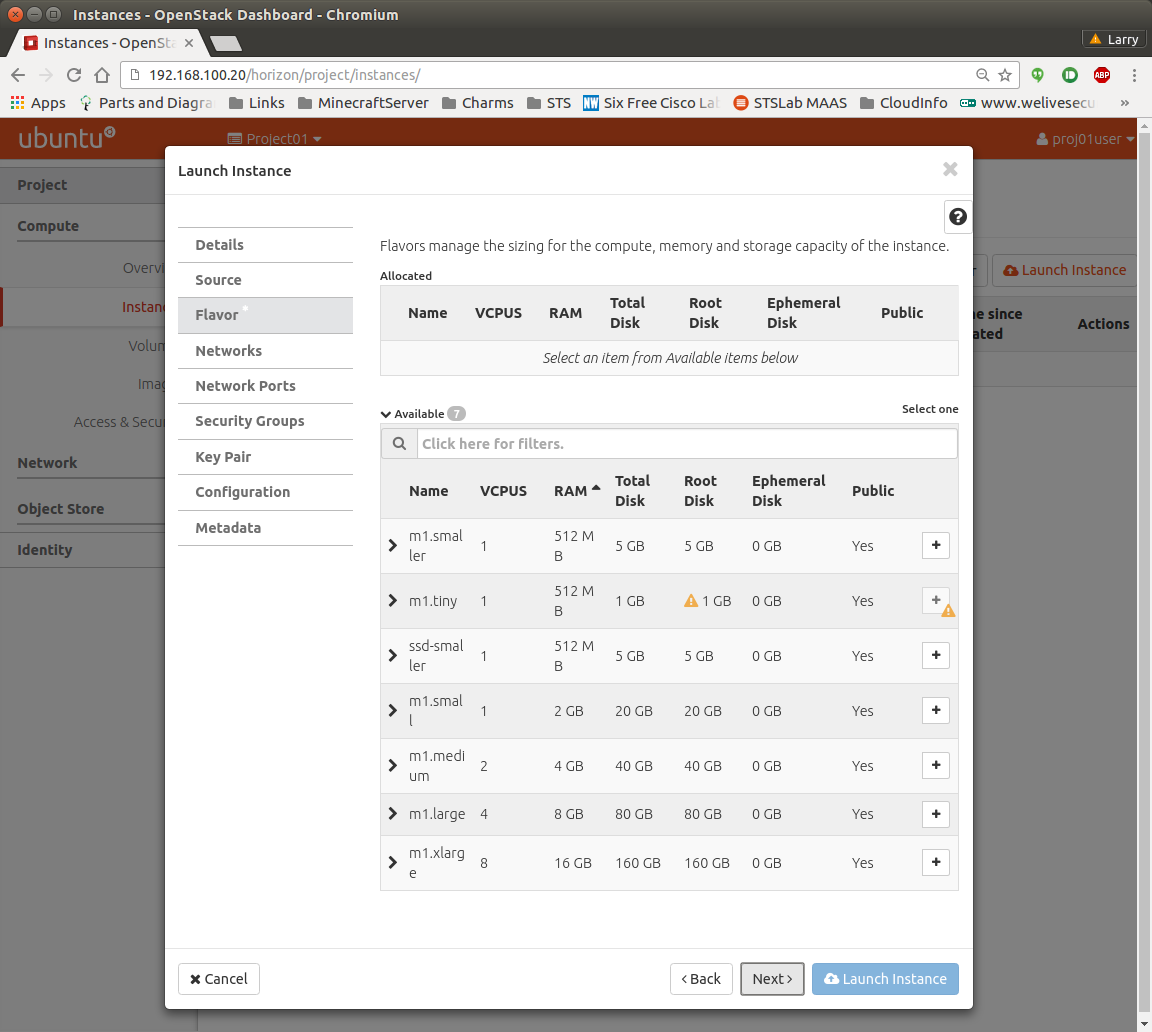
Click on the “+” button on the preferred flavor and click Next. Notice that if the image cannot be run within a flavor, a yellow warning sign will appear.
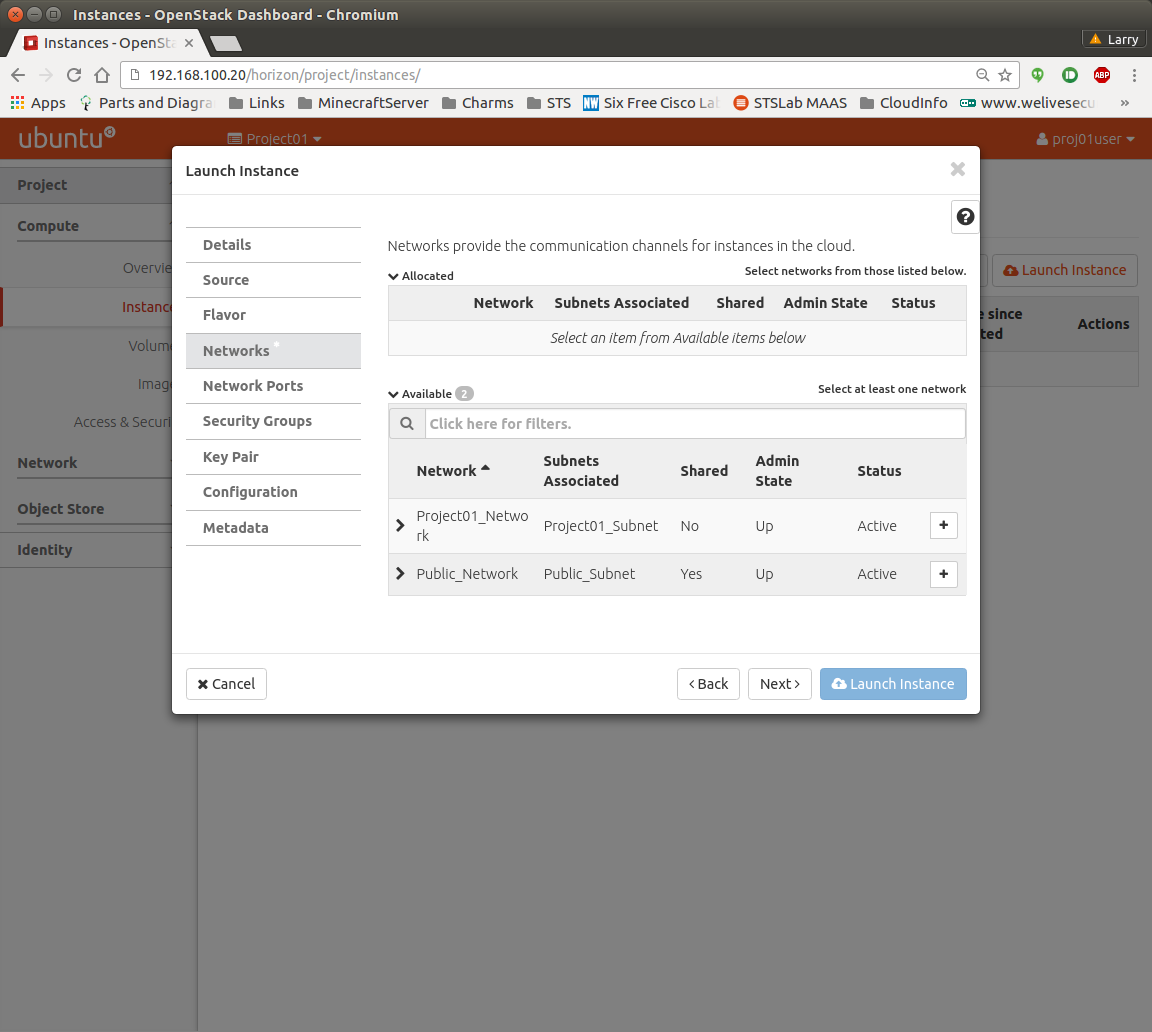
Click the “+” button on the project network and click Next twice. Do not use public network here, because your instance will not work properly.
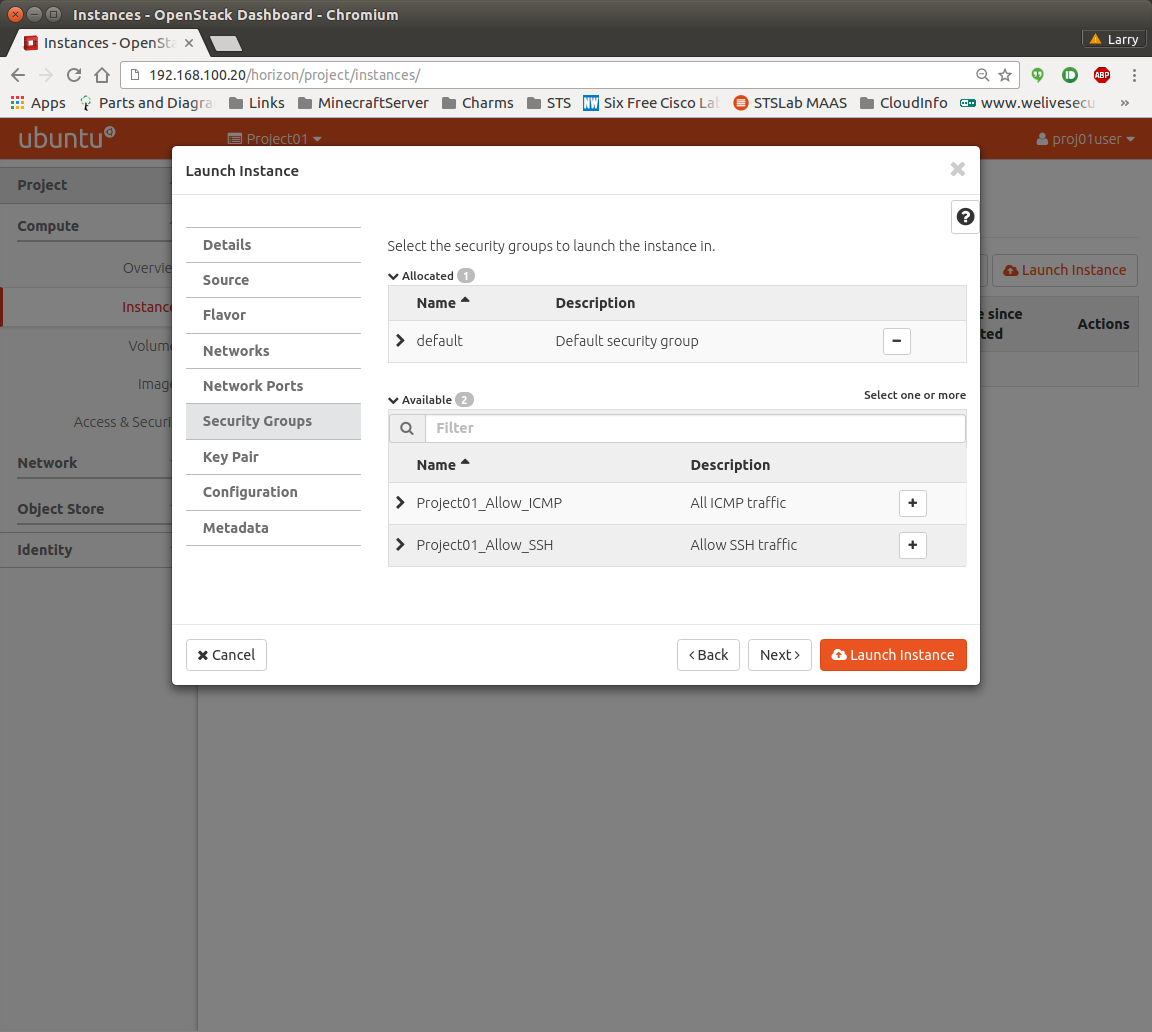
Click “+” on the security groups you wish to apply to your VM and then click Next.
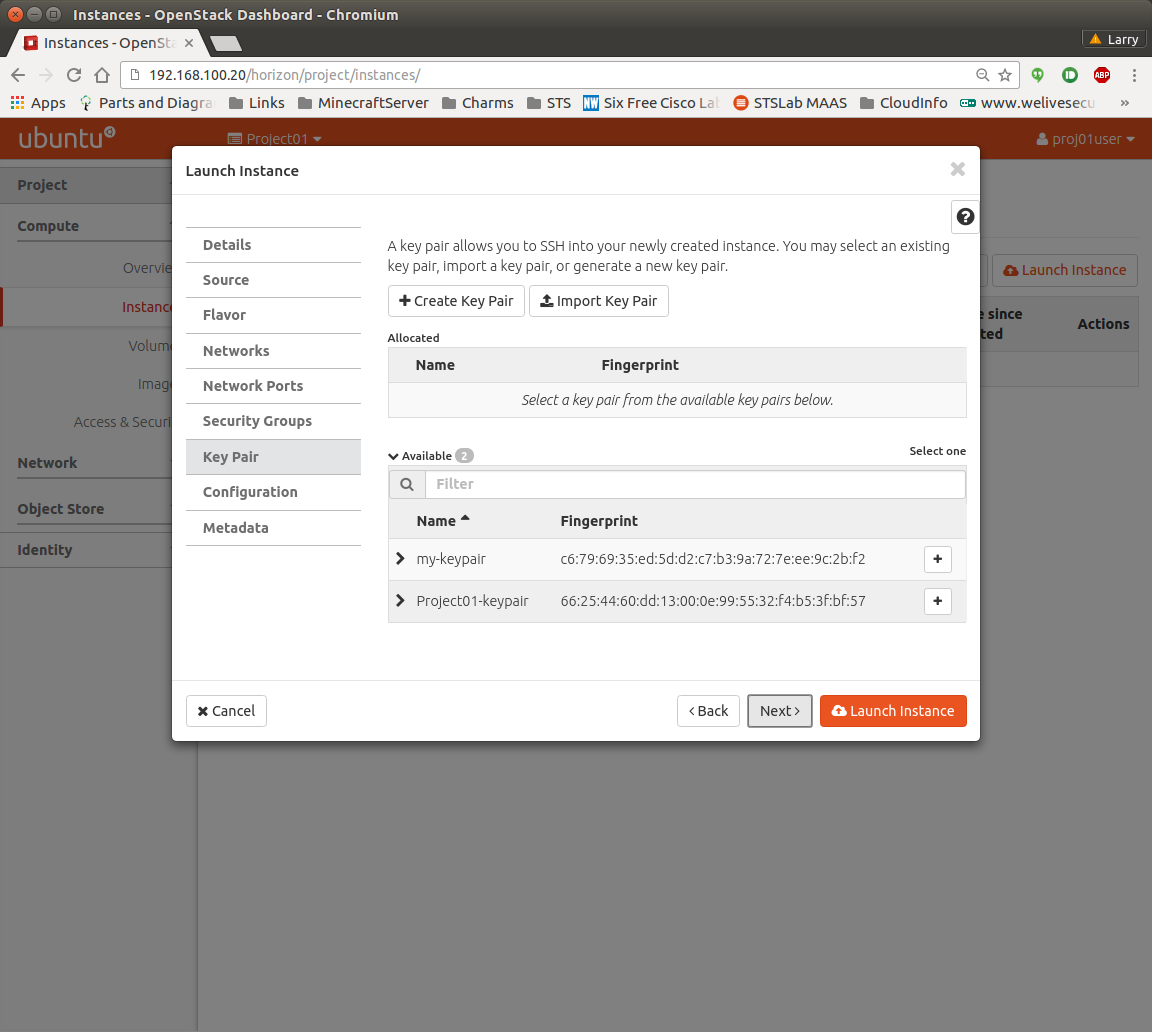
Click “+” on the previously created keypair and click Launch Instance.
To perform the same operation on the CLI, source the user.rc file and issue this:
$ openstack server create --availability-zone
–image --flavor
–key-name --security-group
–nic net-id=