
The use case described below is having two nodes on a private network running the same application node and then adding a Load Balancer with a Floating IP in front of them to distribute traffic to both nodes.
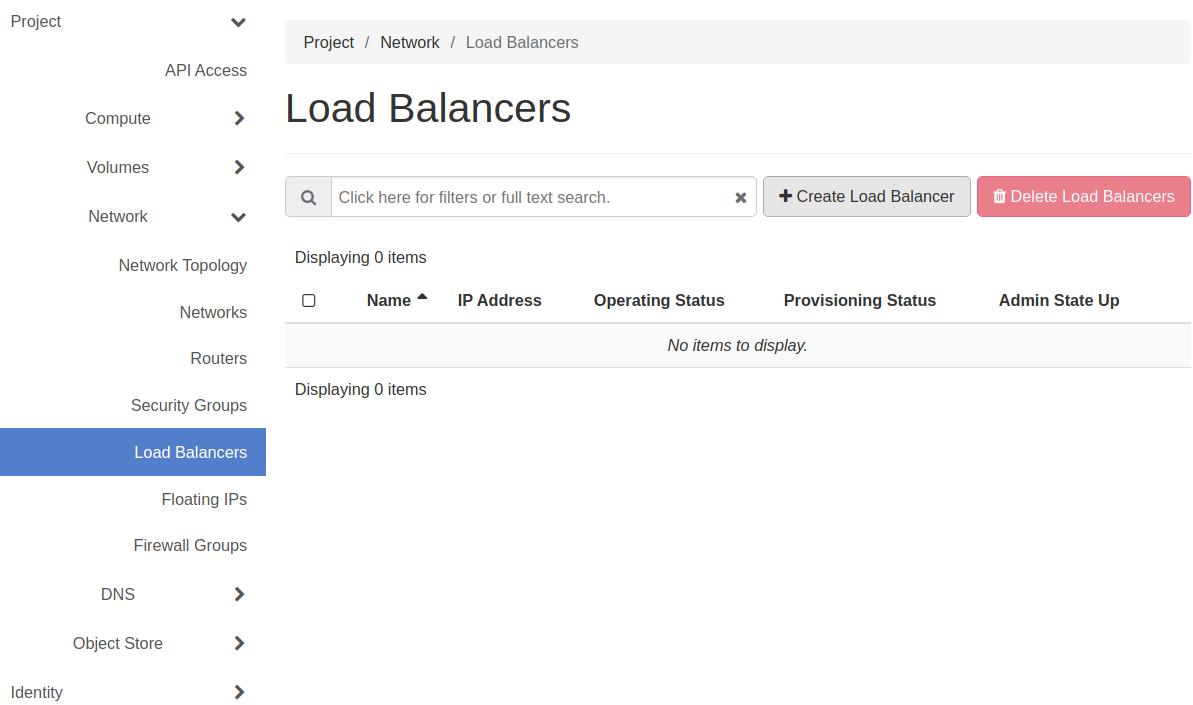
- Go to the “Project” -> “Network” -> "Load Balancers " tab:
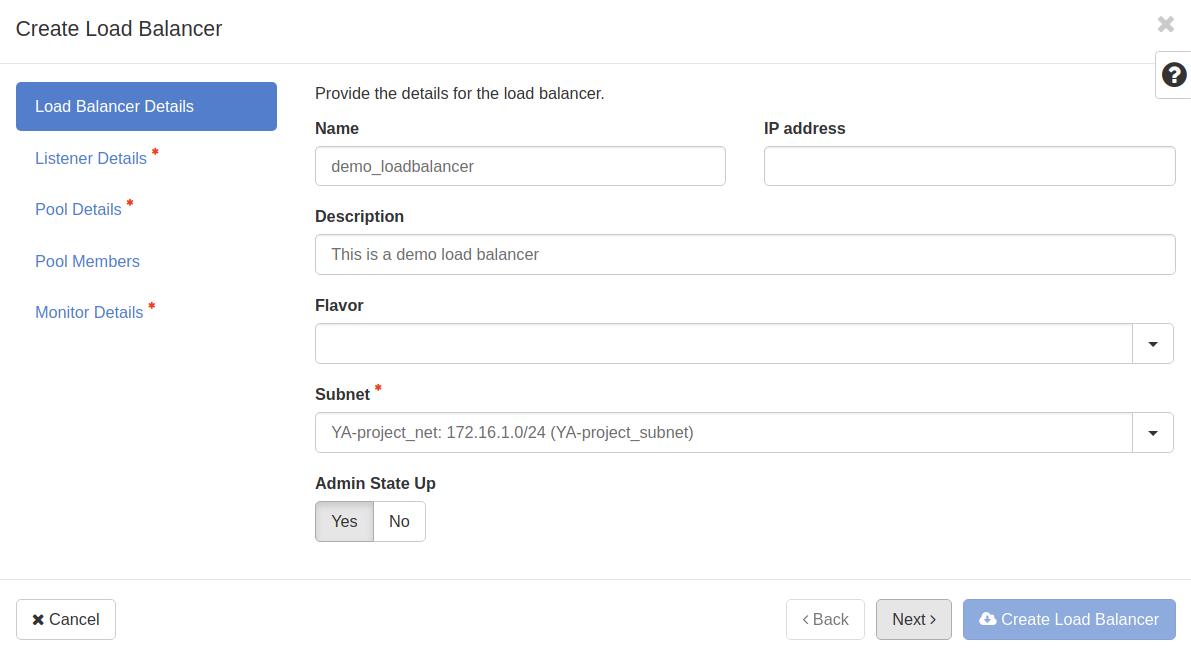
- Press the “Create Load Balancer” button, enter load balance “Name” and select the “Subnet”:
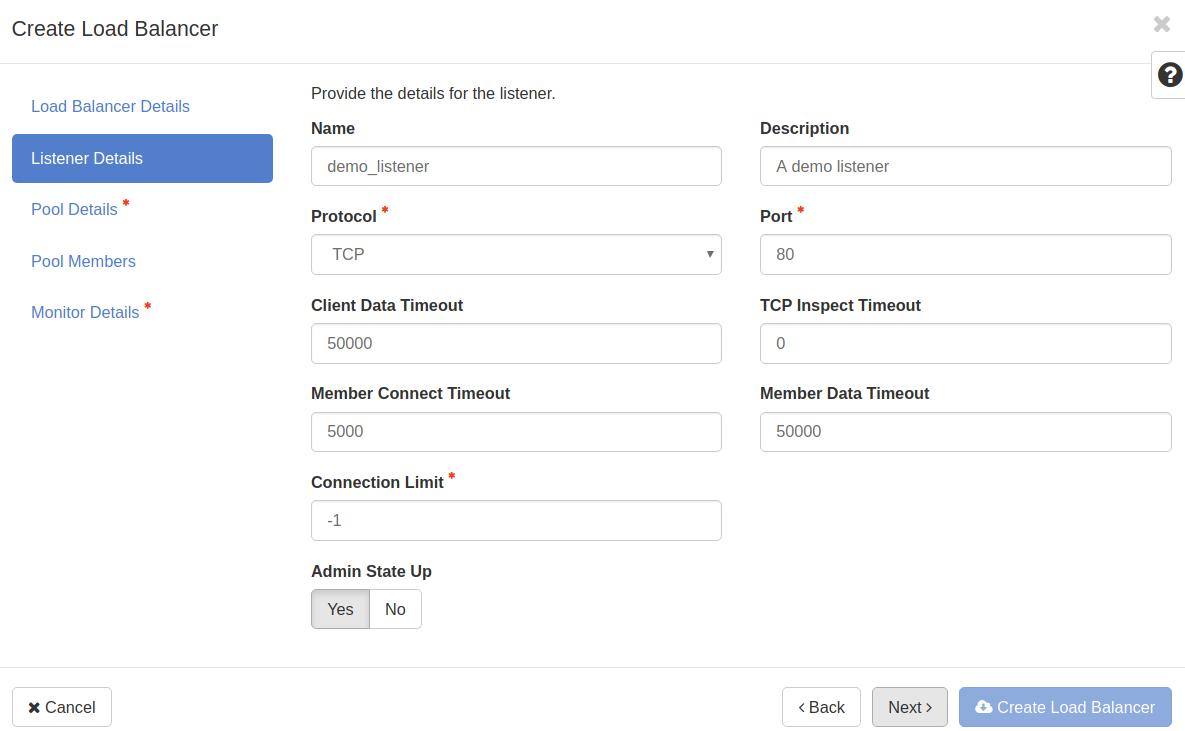
- Enter listener details:
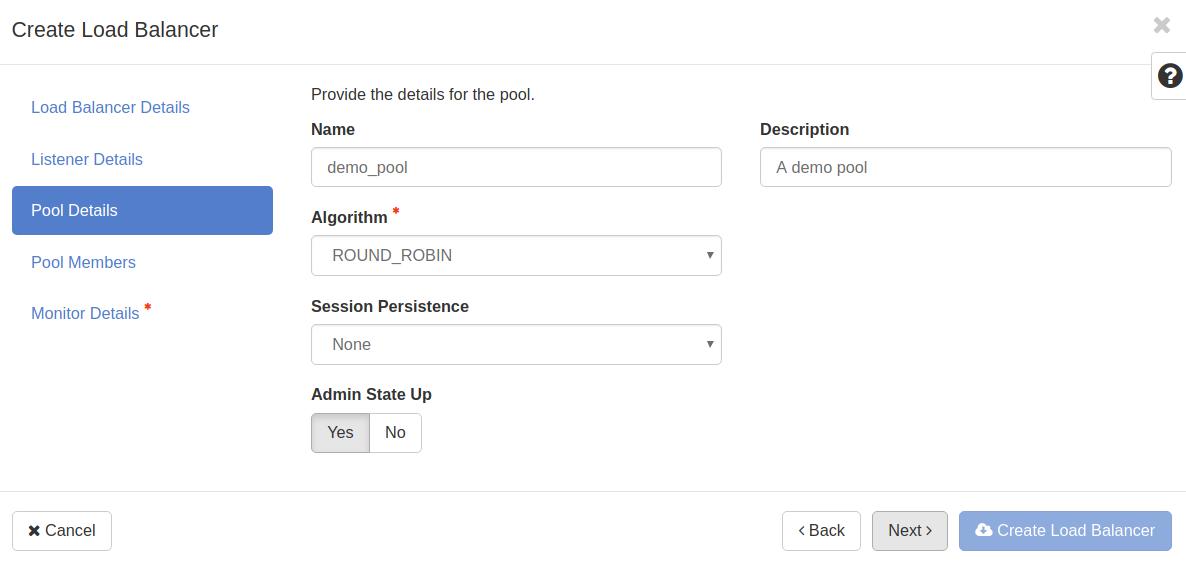
- Procceed to pool information:
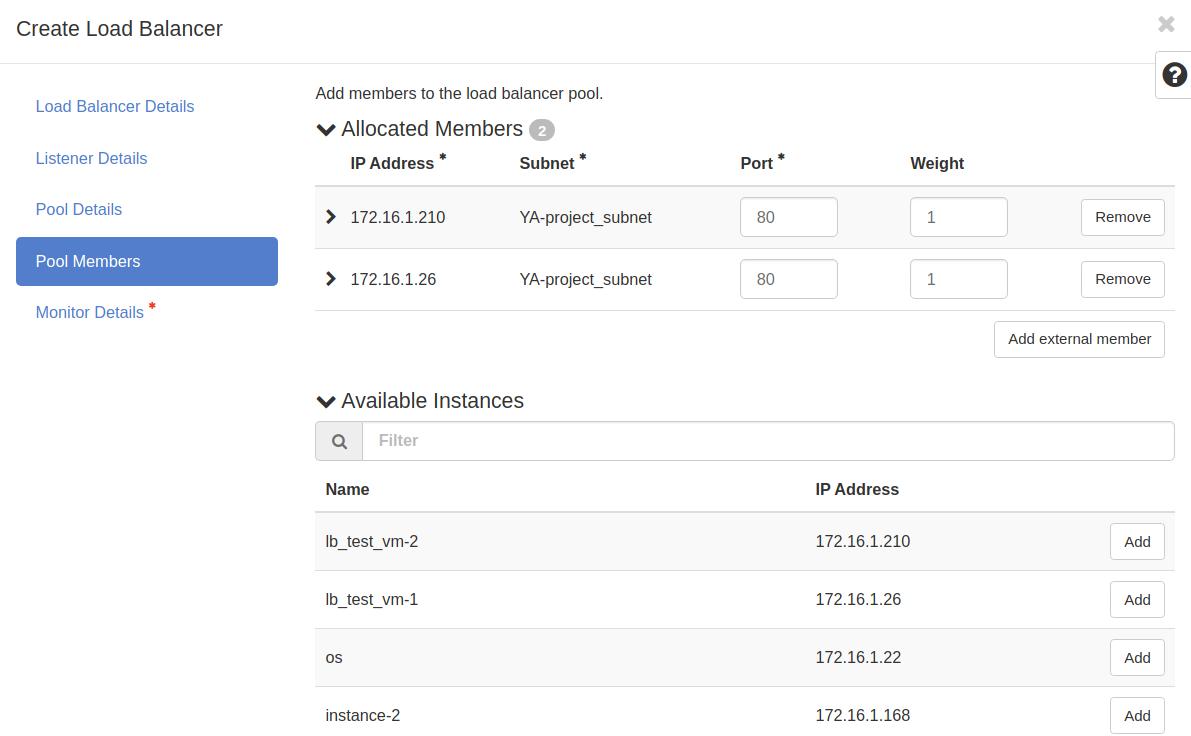
- Add existing instances as pool members, and specify the port on which they serve the application:
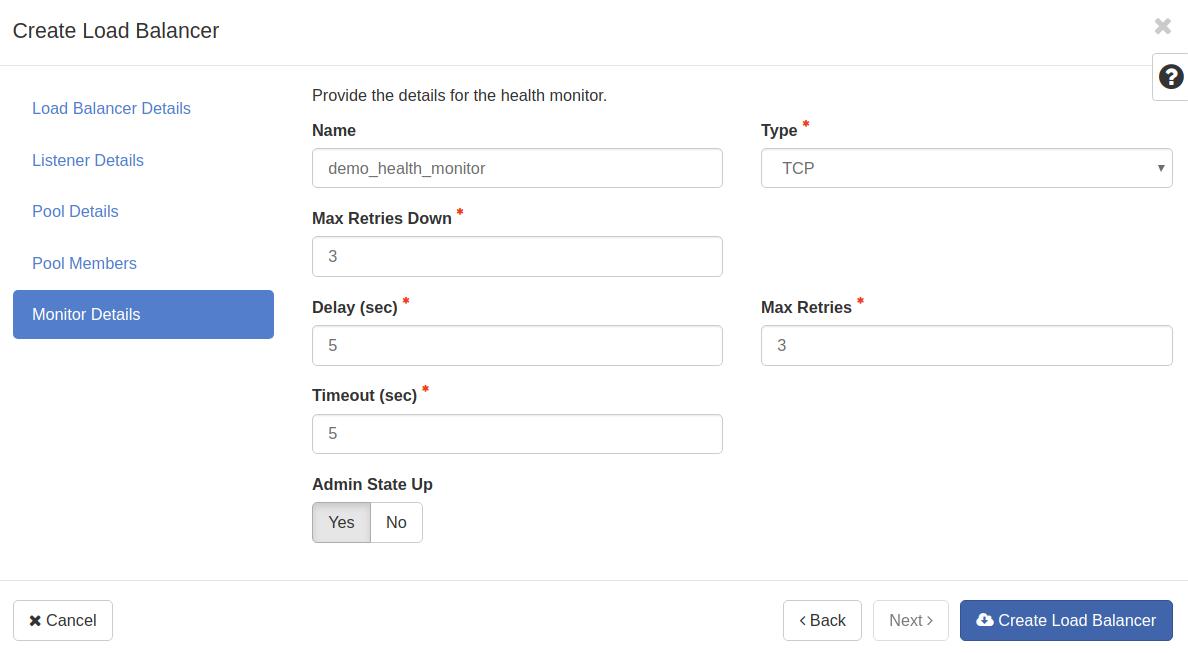
- Finally, configure a health monitor for the load balancer, and press the “Create Load Balancer” at the bottom:
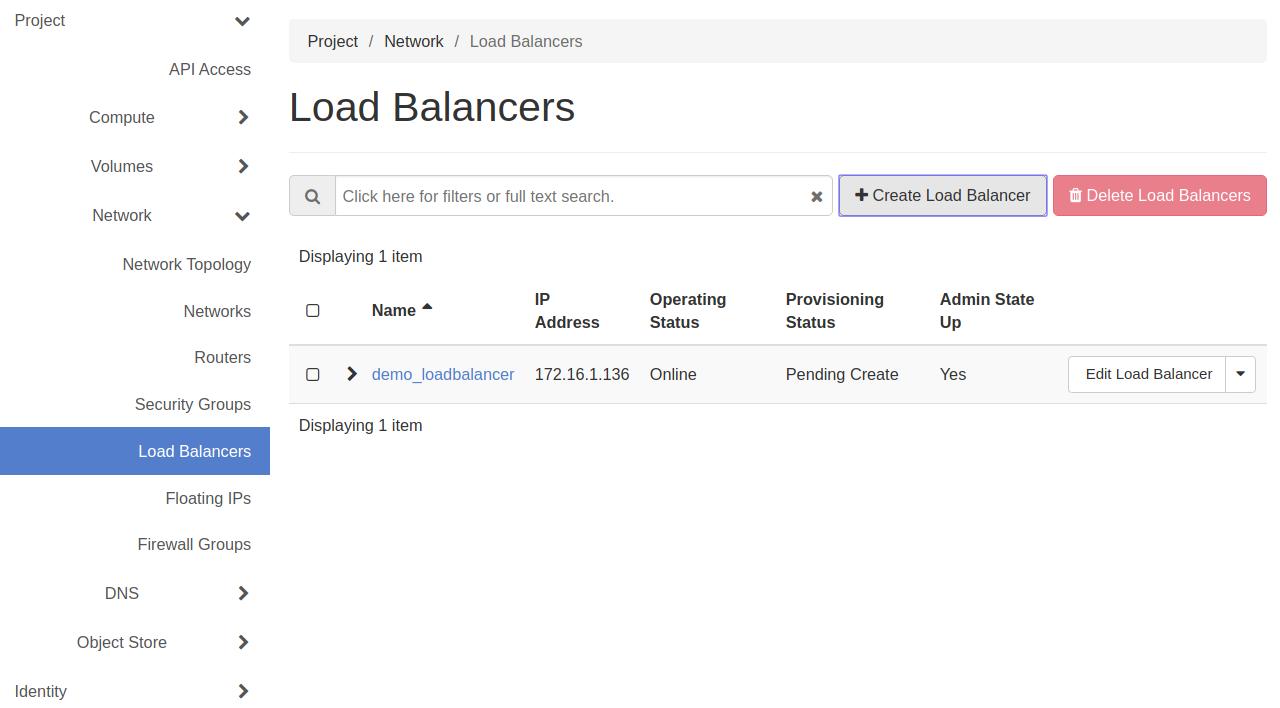
- Wait until the load balancer “Provisioning Status” becomes “ACTIVE”
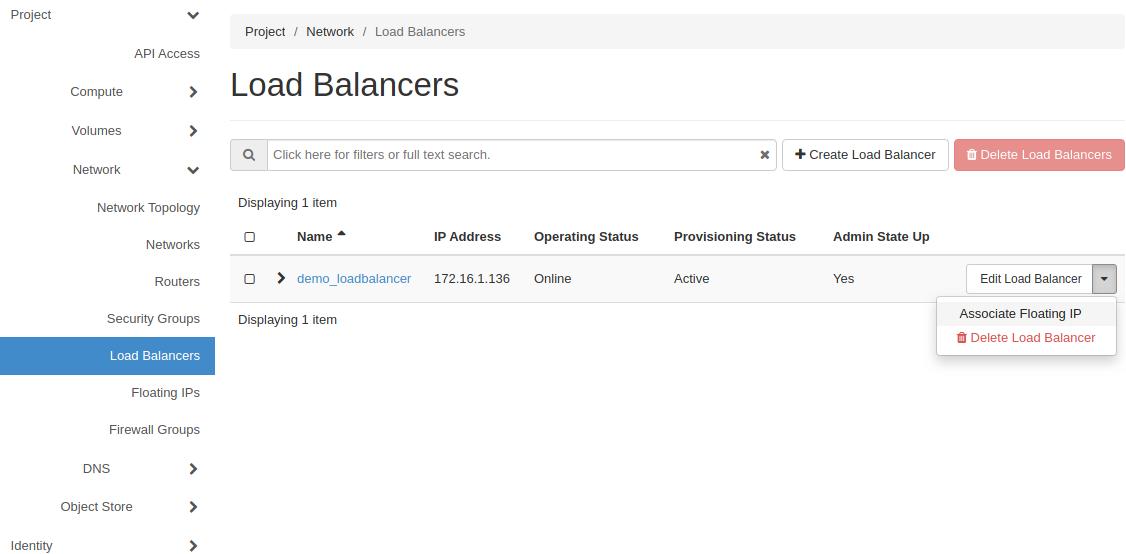
- I order to access the web application from the Internet; a Floating IP must be associated with the created load balancer. Press the arrow next to the “Edit Load Balancer” button and then “Associate Floating IP”:
You can now access the web application at port 80 of the Floating IP specified.
The same result can be achieved with the cli client. (An application credential with the role “load-balancer_member” must be created):
openstack loadbalancer create --vip-subnet-id {{private-subnet-id}}  --name demo_loadbalancer

openstack loadbalancer listener create --name demo_listener --protocol TCP --protocol-port 80 demo_loadbalancer

openstack loadbalancer pool create --name demo_pool --lb-algorithm ROUND_ROBIN  --listener demo_listener --protocol TCP

openstack loadbalancer member create --subnet-id {{private-subnet-id}}  --address 172.16.1.210 --protocol-port 80 demo_pool

openstack loadbalancer member create --subnet-id {{private-subnet-id}}  --address 172.16.1.26 --protocol-port 80 demo_pool

openstack loadbalancer healthmonitor create --delay 5 --max-retries 3 --timeout 5 --type TCP --url-path /healthcheck demo_pool